-
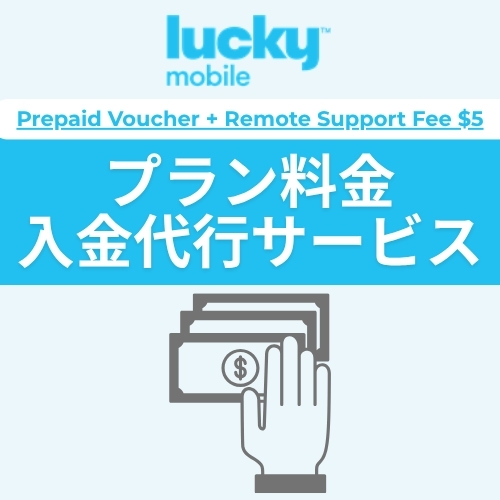 こちらの商品は「Lucky Mobile プラン料金入金代行」です。 Lucky Mobile のマイアカウントやアプリで上手く料金の支払いができない場合、弊社けーたい屋が代行でプラン料金の入金手続きいたします。 代行にはプラン料金の他に入金代行費用($5)が加算されますことをご了承ください。 ※$34、$39、$47のプランをお選びの方はシステムの都合上、プラン料金が$34プランは$35+代行費用+tax、$39プランは$40+代行費用+tax、$47プランは$50+代行費用+taxでの決済となります。 差額の金額は残高として毎月繰り越され、月額料との差額を手動で入金することにより翌月以降のプラン料金に充当することが可能です。詳細は弊社までお問い合わせください。
 -
Out of stock
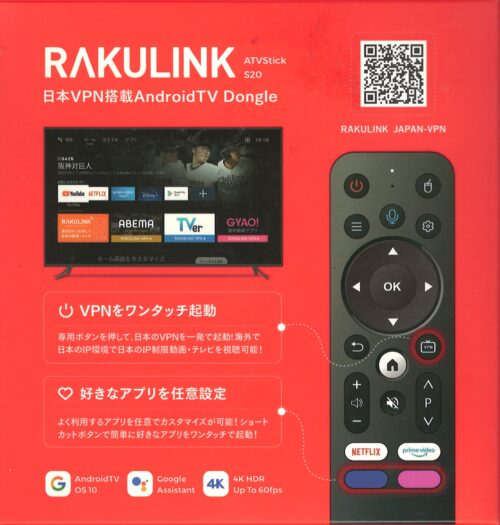
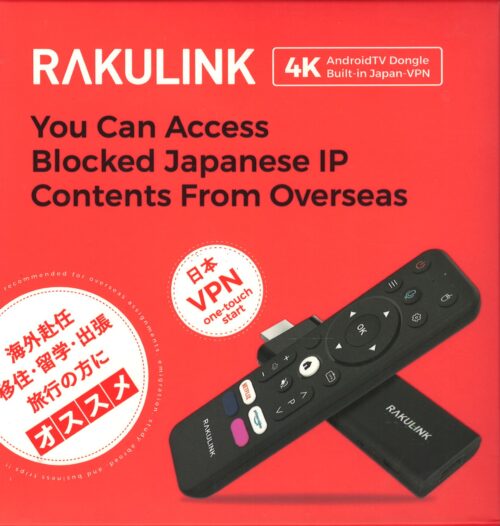
日本VPN搭載!海外から日本のIP制限動画・ テレビを観るためのAndroidTV Dongle登場
海外在住日本人向け開発し、海外から日本の動画・テレビをだれでも簡単に観られるAndroidTV Dongleが登場!日本VPNを搭載!テレビに挿すだけで海外で日本と同じエンタメをお楽しみいただけます。 Android10をベースに、日本の動画・テレビを観るために独自の便利機能と安心の日本VPNサービスを搭載!コンパクトなデザインと快適な操作感で、誰でも分かる使い方になっており、一般の類似製品・サービスとは一線を画しています。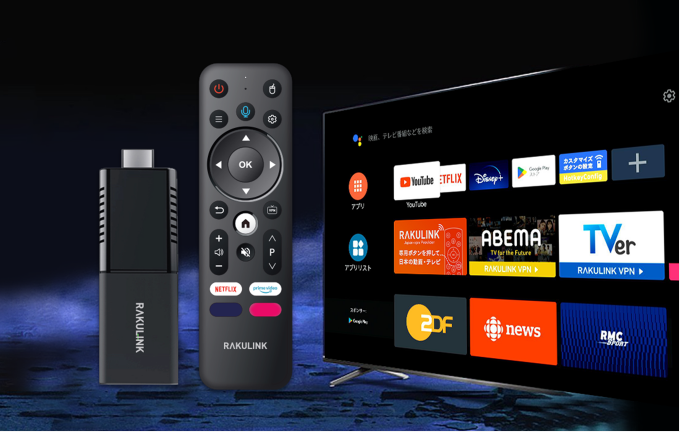
視聴可能サービス
下記サービスが海外で視聴可能な日本の ビデオ・オン・デマンド(Video On Demand)となります。- KaitekiTVサポート | KaitekiTVサポート - 1週間無料
- ABEMA
- Amazon Prime Video - 30日間無料体験
- Apple TV - 無料トライアル7日間
- BANDAI CHANNEL
- DAZN
- Disney+(ディズニープラス)
- DMM.com - DMM TV・ゲーム・動画・電子書籍・英会話・FX等の総合サイト
- FOD
- hulu
- NETFLIX
- NHK+
- Paravi
- SMART USEN - 3日間お試し
- TELASA
- TVer
- U-NEXT - 31日間無料トライアル
- YouTube
- カラオケDAM
- テレ東BIZ - 14日間無料
同梱品内容
「RAKULINK(ラクリンク本体のみ)」を購入時に同梱品されている商品は下記となります。- ドングル本体
- リモコン
- USB/HDMI
- 電源アダプタ
- 取扱説明書
- 製品保証書
-
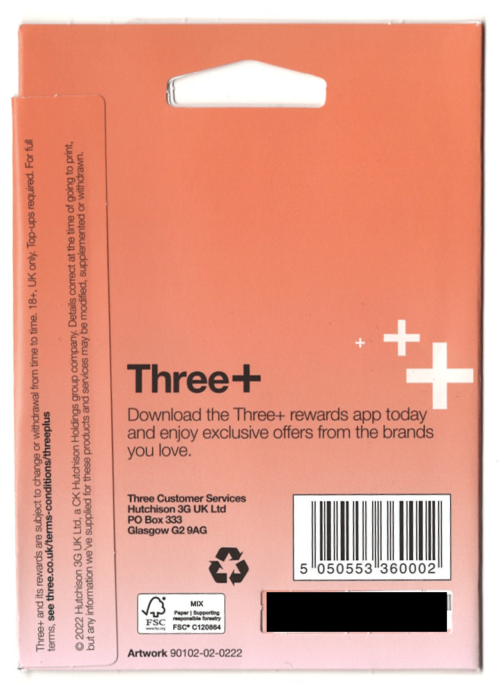
 ヨーロッパで使えるSIMカードです。
ヨーロッパ SIM の特徴
- イギリス電話番号付き
- ヨーロッパ国内通話使い放題
- ヨーロッパ国内テキスト使い放題
- モバイルデータ通信 12GB(5G または 4G LTE速度)
ご利用可能国
オーランド諸島 / オーストリア / バレアレス諸島 / ベルギー / ブルガリア / カナリア諸島 / クロアチア / キプロス / チェコ共和国 / デンマーク / エストニア / フィンランド / フランス (コルシカ島、マヨット島、レユニオン島を含む) / フランス領ギアナ / ドイツ / ジブラルタル / ギリシャ (クレタ島を含む) ロードス島) / ガーンジー島 / ハンガリー / アイスランド / アイルランド / マン島 / イタリア (サルデーニャ島とシチリア島を含む) / ジャージー島 / ラトビア / リヒテンシュタイン / リトアニア / ルクセンブルグ / マルタ / マリーガランテ / オランダ / ノルウェー / ポーランド / ポルトガル / アイルランド共和国 / ルーマニア / サンマリノ / スロバキア / スロベニア / スペイン / スウェーデン / スイス / バチカン市国周波数
対応しているバンド(電波)になります。 5G N78 (3.5 GHz) 4G・LTE Band 3 (1800 MHz) / Band 20 (800 MHz) / B32 (1500 MHz Suppl. DL) -

 ヨーロッパで使えるSIMカードです。
ヨーロッパ SIM の特徴
- イギリス電話番号付き
- ヨーロッパ国内通話使い放題
- ヨーロッパ国内テキスト使い放題
- モバイルデータ通信 5GB(5G または 4G LTE速度)
ご利用可能国
オーランド諸島 / オーストリア / バレアレス諸島 / ベルギー / ブルガリア / カナリア諸島 / クロアチア / キプロス / チェコ共和国 / デンマーク / エストニア / フィンランド / フランス (コルシカ島、マヨット島、レユニオン島を含む) / フランス領ギアナ / ドイツ / ジブラルタル / ギリシャ (クレタ島を含む) ロードス島) / ガーンジー島 / ハンガリー / アイスランド / アイルランド / マン島 / イタリア (サルデーニャ島とシチリア島を含む) / ジャージー島 / ラトビア / リヒテンシュタイン / リトアニア / ルクセンブルグ / マルタ / マリーガランテ / オランダ / ノルウェー / ポーランド / ポルトガル / アイルランド共和国 / ルーマニア / サンマリノ / スロバキア / スロベニア / スペイン / スウェーデン / スイス / バチカン市国周波数
対応しているバンド(電波)になります。 5G N78 (3.5 GHz) 4G・LTE Band 3 (1800 MHz) / Band 20 (800 MHz) / B32 (1500 MHz Suppl. DL) -
Out of stock


日本VPN搭載!海外から日本のIP制限動画・ テレビを観るためのAndroidTV Dongle登場
海外在住日本人向け開発し、海外から日本の動画・テレビをだれでも簡単に観られるAndroidTV Dongleが登場!日本VPNを搭載!テレビに挿すだけで海外で日本と同じエンタメをお楽しみいただけます。 Android10をベースに、日本の動画・テレビを観るために独自の便利機能と安心の日本VPNサービスを搭載!コンパクトなデザインと快適な操作感で、誰でも分かる使い方になっており、一般の類似製品・サービスとは一線を画しています。
視聴可能サービス
下記サービスが海外で視聴可能な日本の ビデオ・オン・デマンド(Video On Demand)となります。- ABEMA
- Amazon Prime Video - 30日間無料体験
- Apple TV - 無料トライアル7日間
- BANDAI CHANNEL
- DAZN
- Disney+(ディズニープラス)
- DMM.com - DMM TV・ゲーム・動画・電子書籍・英会話・FX等の総合サイト
- FOD
- hulu
- KaitekiTVサポート | KaitekiTVサポート - 1週間無料
- NETFLIX
- NHK+
- Paravi
- SMART USEN - 3日間お試し
- TELASA
- TVer
- U-NEXT - 31日間無料トライアル
- YouTube
- カラオケDAM
- テレ東BIZ - 14日間無料
同梱品内容
「RAKULINK(ラクリンク本体) + 12か月分のVPNプリペイドカード付」購入時に同梱品されている商品は下記となります。- ドングル本体
- リモコン
- USB/HDMI
- 電源アダプタ
- 取扱説明書
- 製品保証書
- 12か月分のVPNプリペイドカード
-
 【ご利用マニュアル】 日本にご到着後、下記のeSIM初期設定が必要になります。 お申込み完了後、メールにて下記初期設定方法をご案内いたしますので、詳細はメールをご確認ください。 STEP1:Wi-Fiに繋いだ状態で、アクティベーションURLにアクセスします。アクティベーションURLは、当店よりメールにてご案内します。 STEP2:アクティベーションコードの発行依頼をします。上記アクティベーションURLからお手続き可能です。 STEP3:アクティベーションの発行には、通常15分程度かかります。 STEP4:発行されたアクティベーションコードをスマホに入力します。 ※日本時間の火曜日22時~水曜日9時まで、メンテナンス時間となります。 ※メンテナンス時間内に「アクティベーションコード発行」を行った場合、発行されるまで時間がかかる場合があります。順次発行されますのでお待ちください。 ※インストール後の eSIM を削除された場合、再インストールならびに本製品の利用はできません。また返金もできませんことご了承ください。 ※


